 0413 592 861
 dustfree@ingraintechnique.com
0413 592 861 dustfree@ingraintechnique.com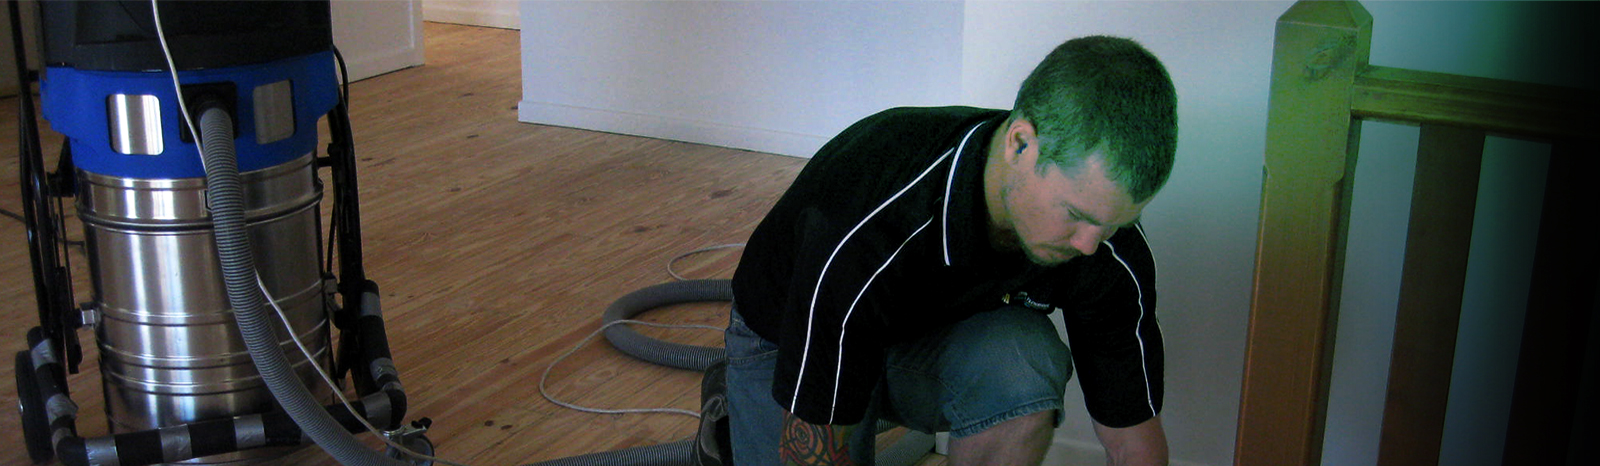
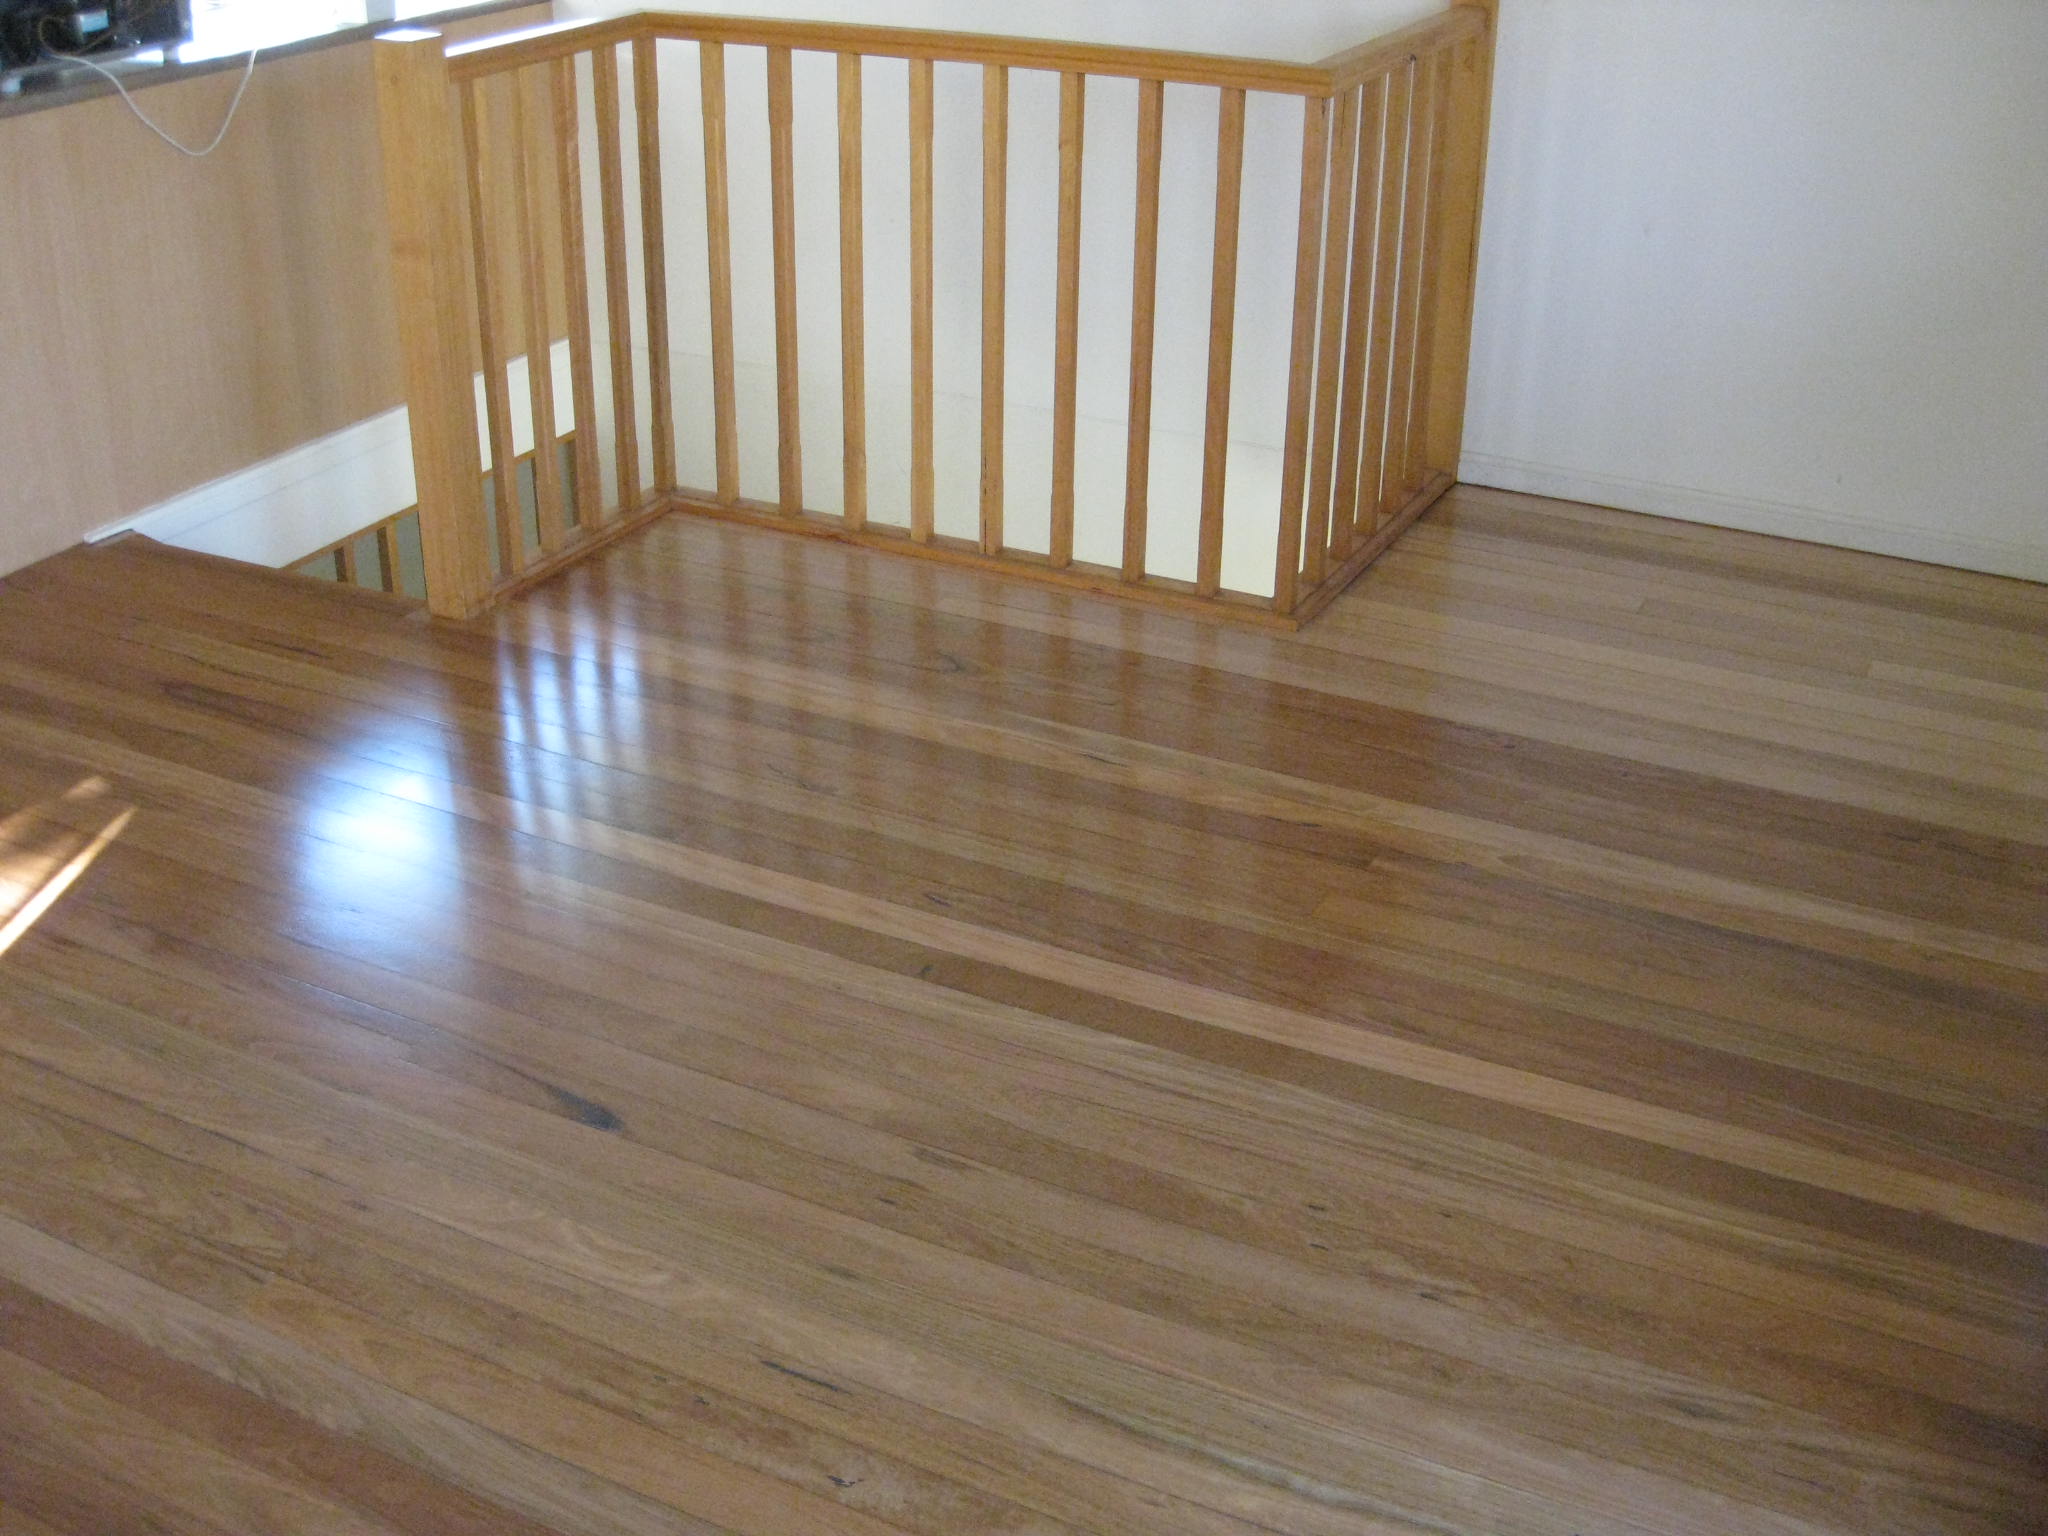
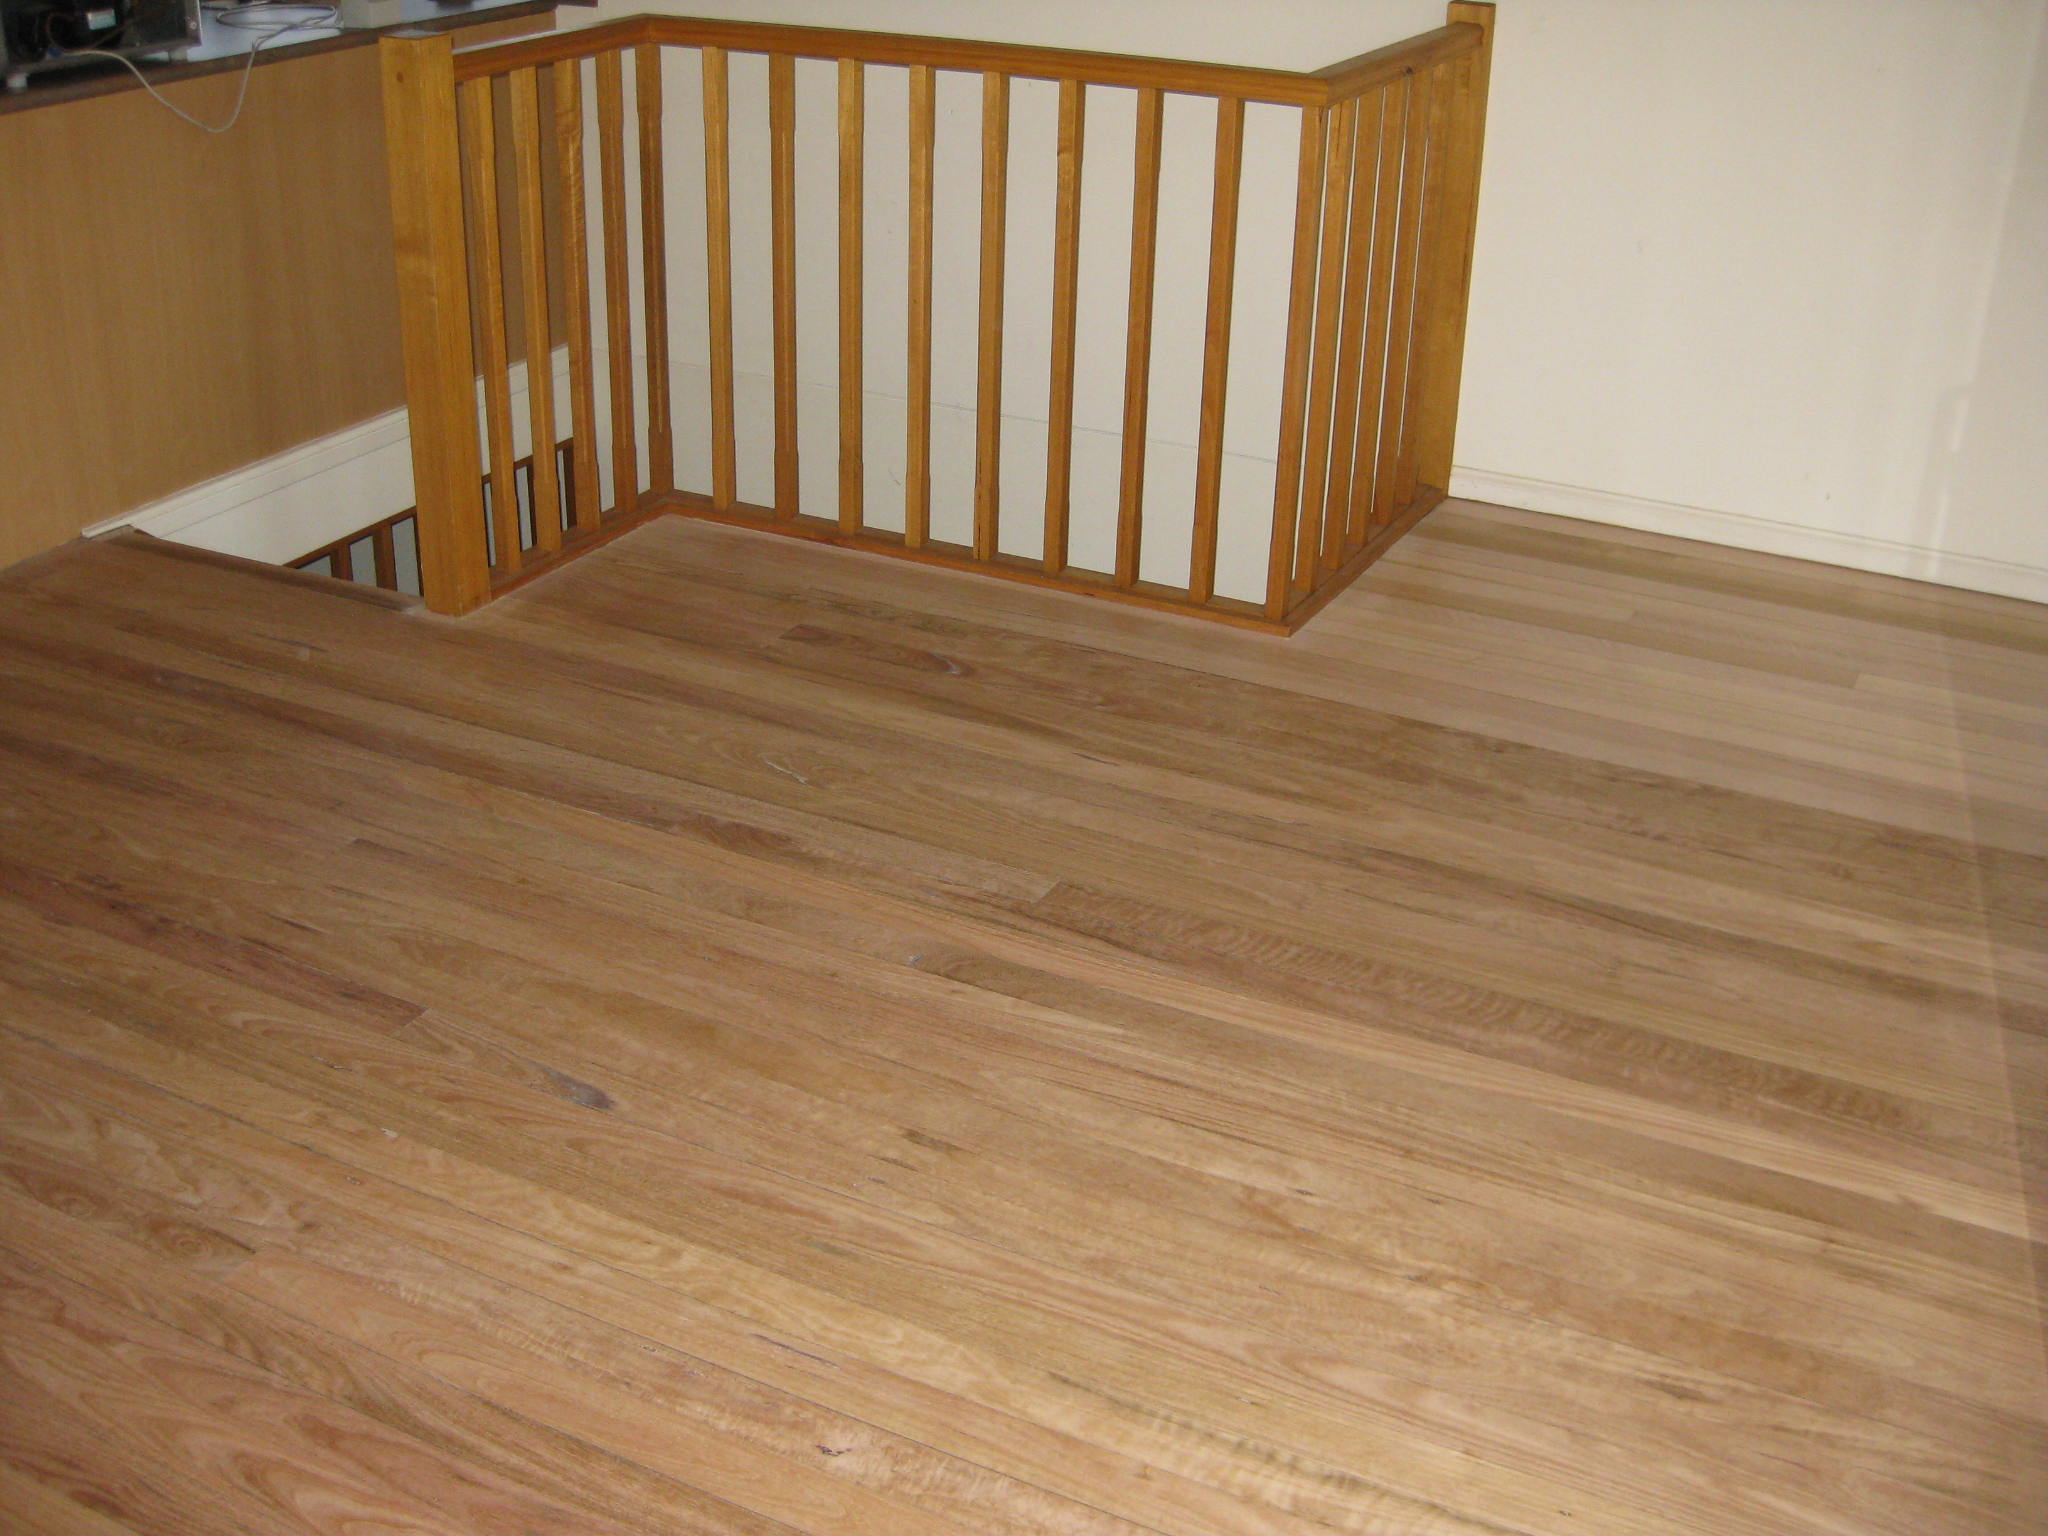
A truly sleek finished timber floor should not have the typical “tell-tale” sanding lines, chatter marks, drum divots, scratches, and undulations around the edges or heavy swirl marks left throughout the finish. Nor should you need to obtain the costly services of a cleaning contractor to remove all the fine dust once the floor is completed.
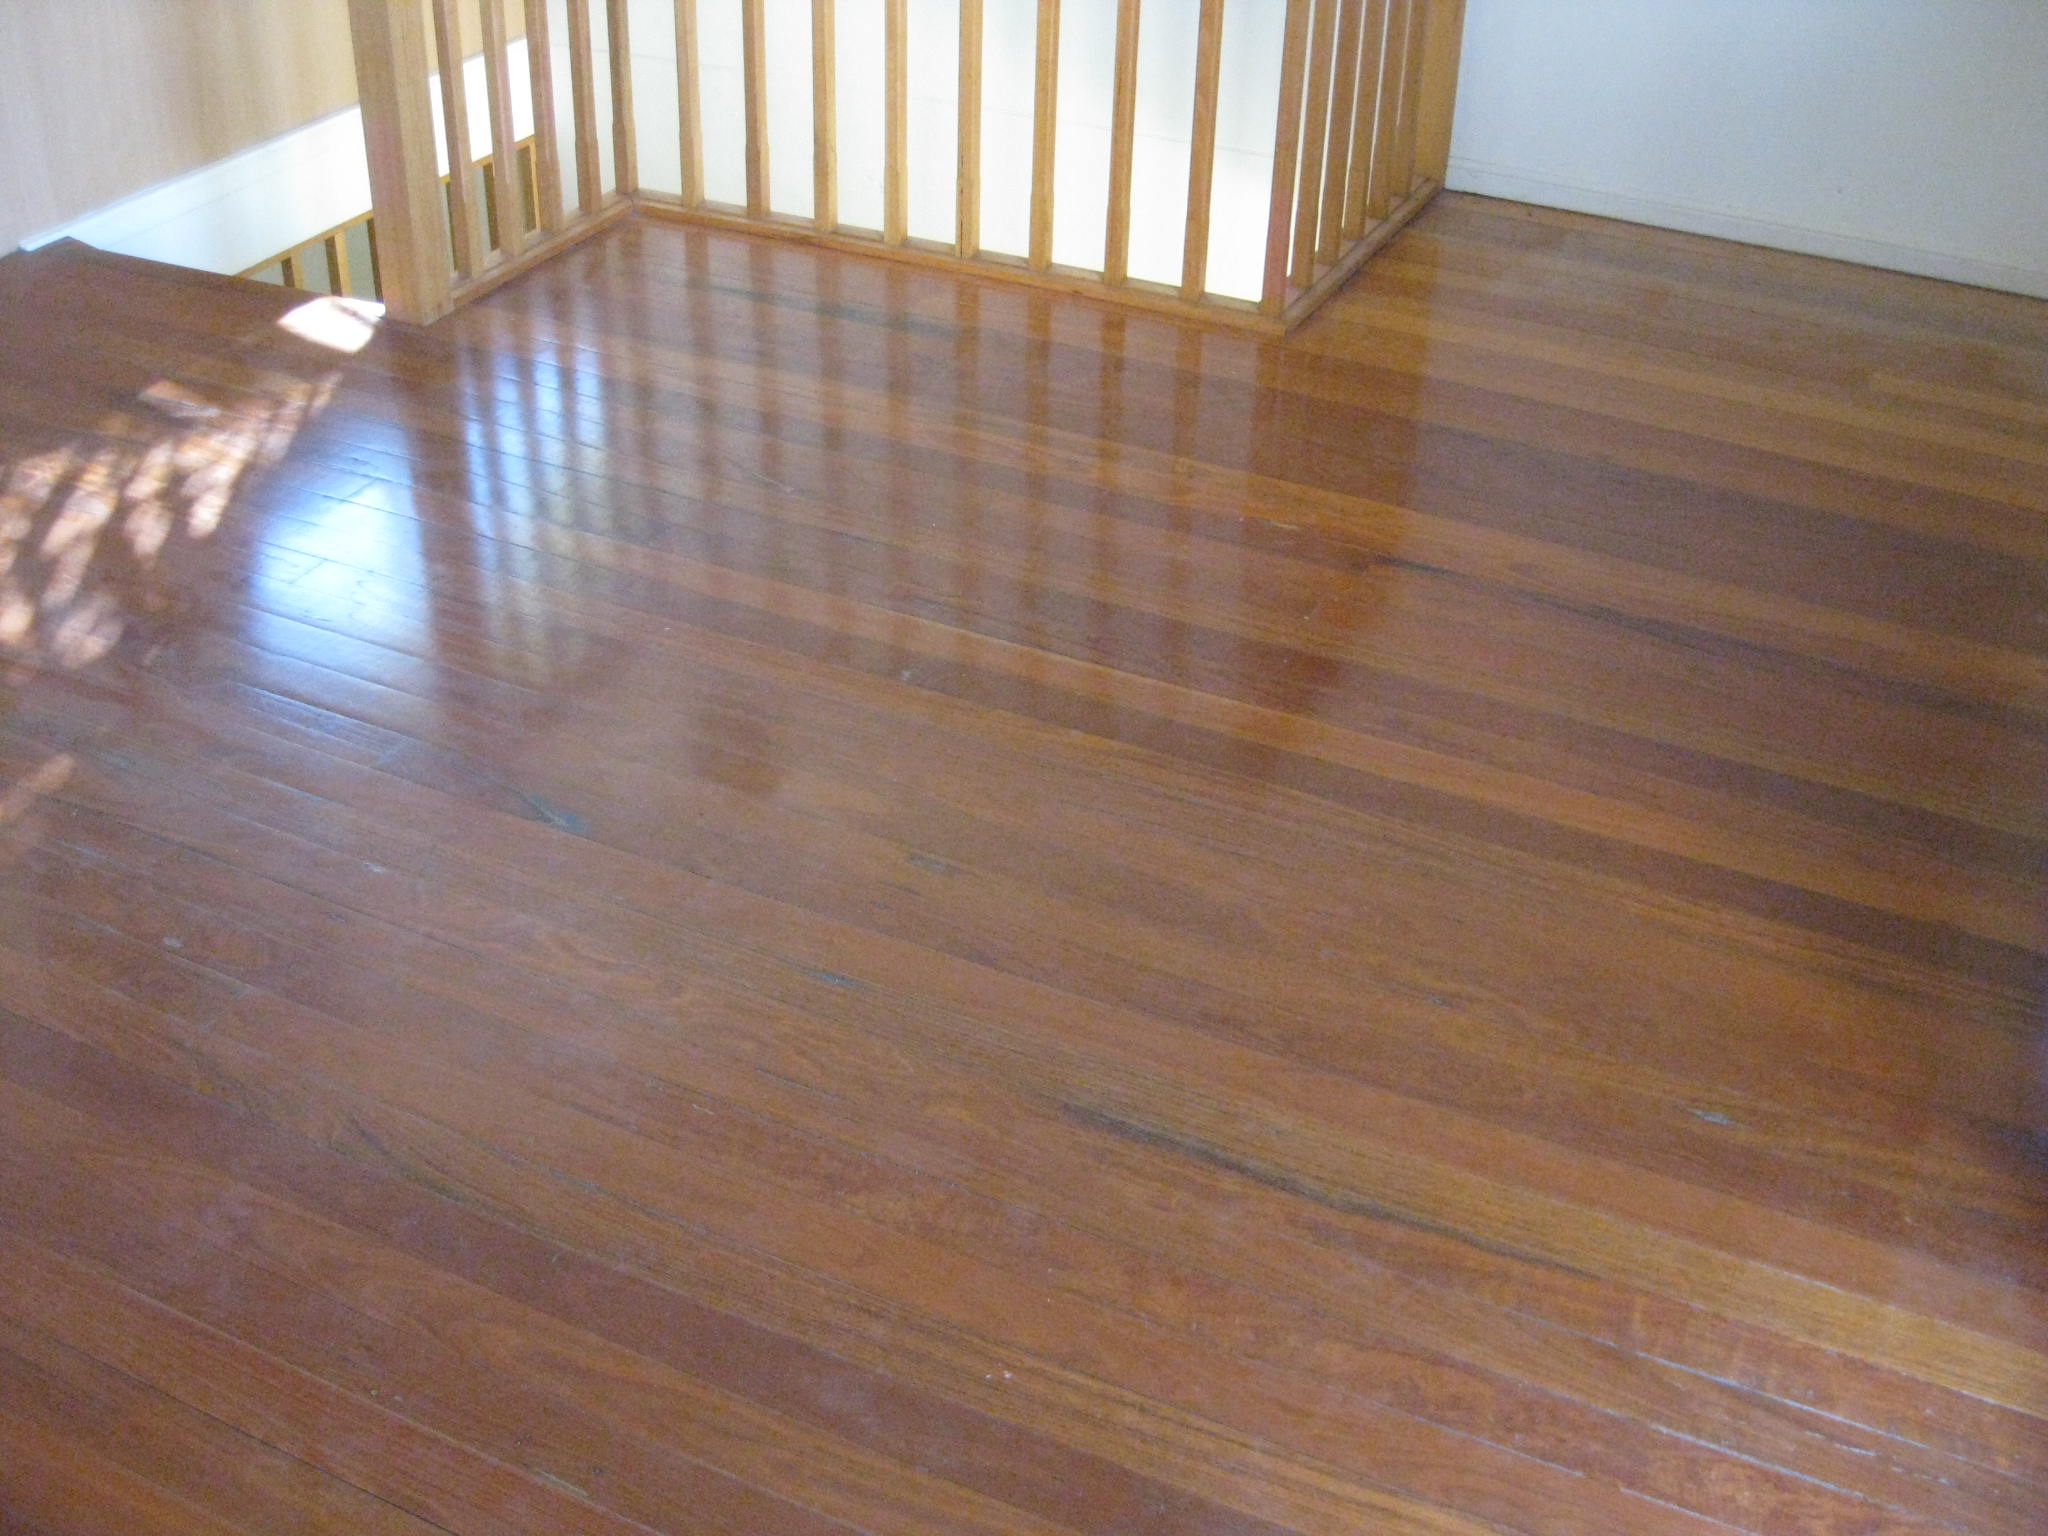
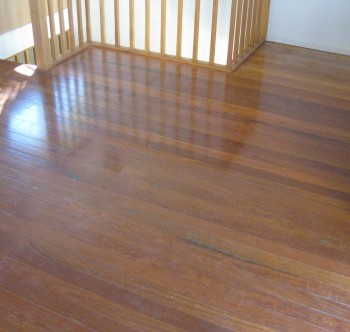
We start with installing your new timber floor using tongue and groove solid timber flooring or perhaps removing existing floor coverings to uncover your existing timber floor.
step 1
step 2
step 3
step 4
step 5
step 6
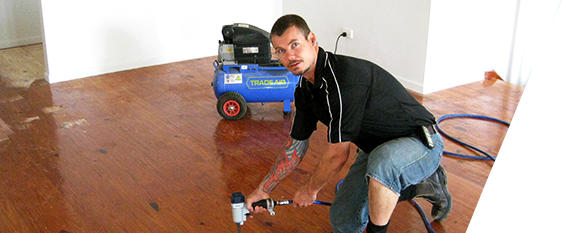
Nails are pneumatically punched to a depth of 3mm to remove existing filler and reset the boards to the joists
We use the German Lagler range of floor sanding machinery together with a Polivac Rotary sander utilising our own custom made cutting heads, which in our experience is the most effective at dust collection. We start with a bigger grit of around 40-60 grit and progress through a final cut of 220 grit.
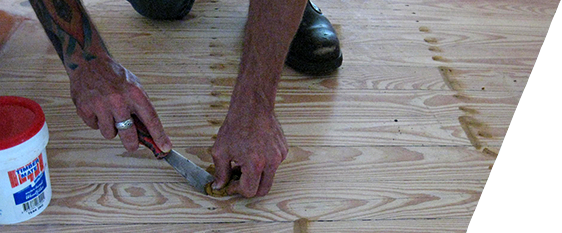
Nail holes being filled with colour matched putty.
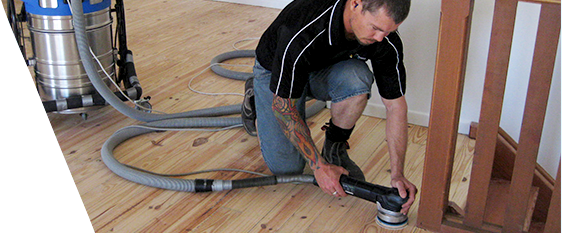
The Edger and Rotex orbital are coupled into a commercial dust extraction unit to further ensure an absolutely dust free service.
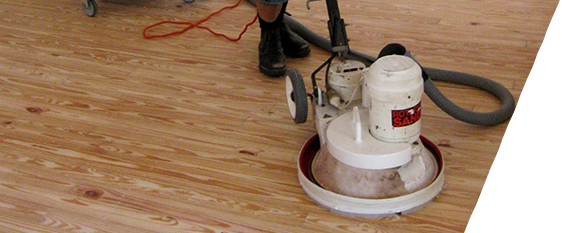
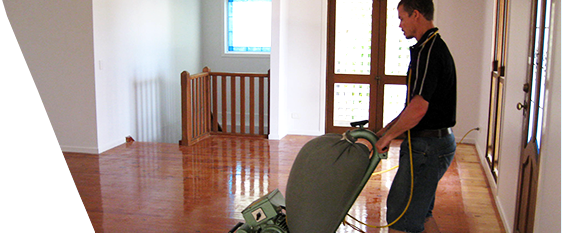
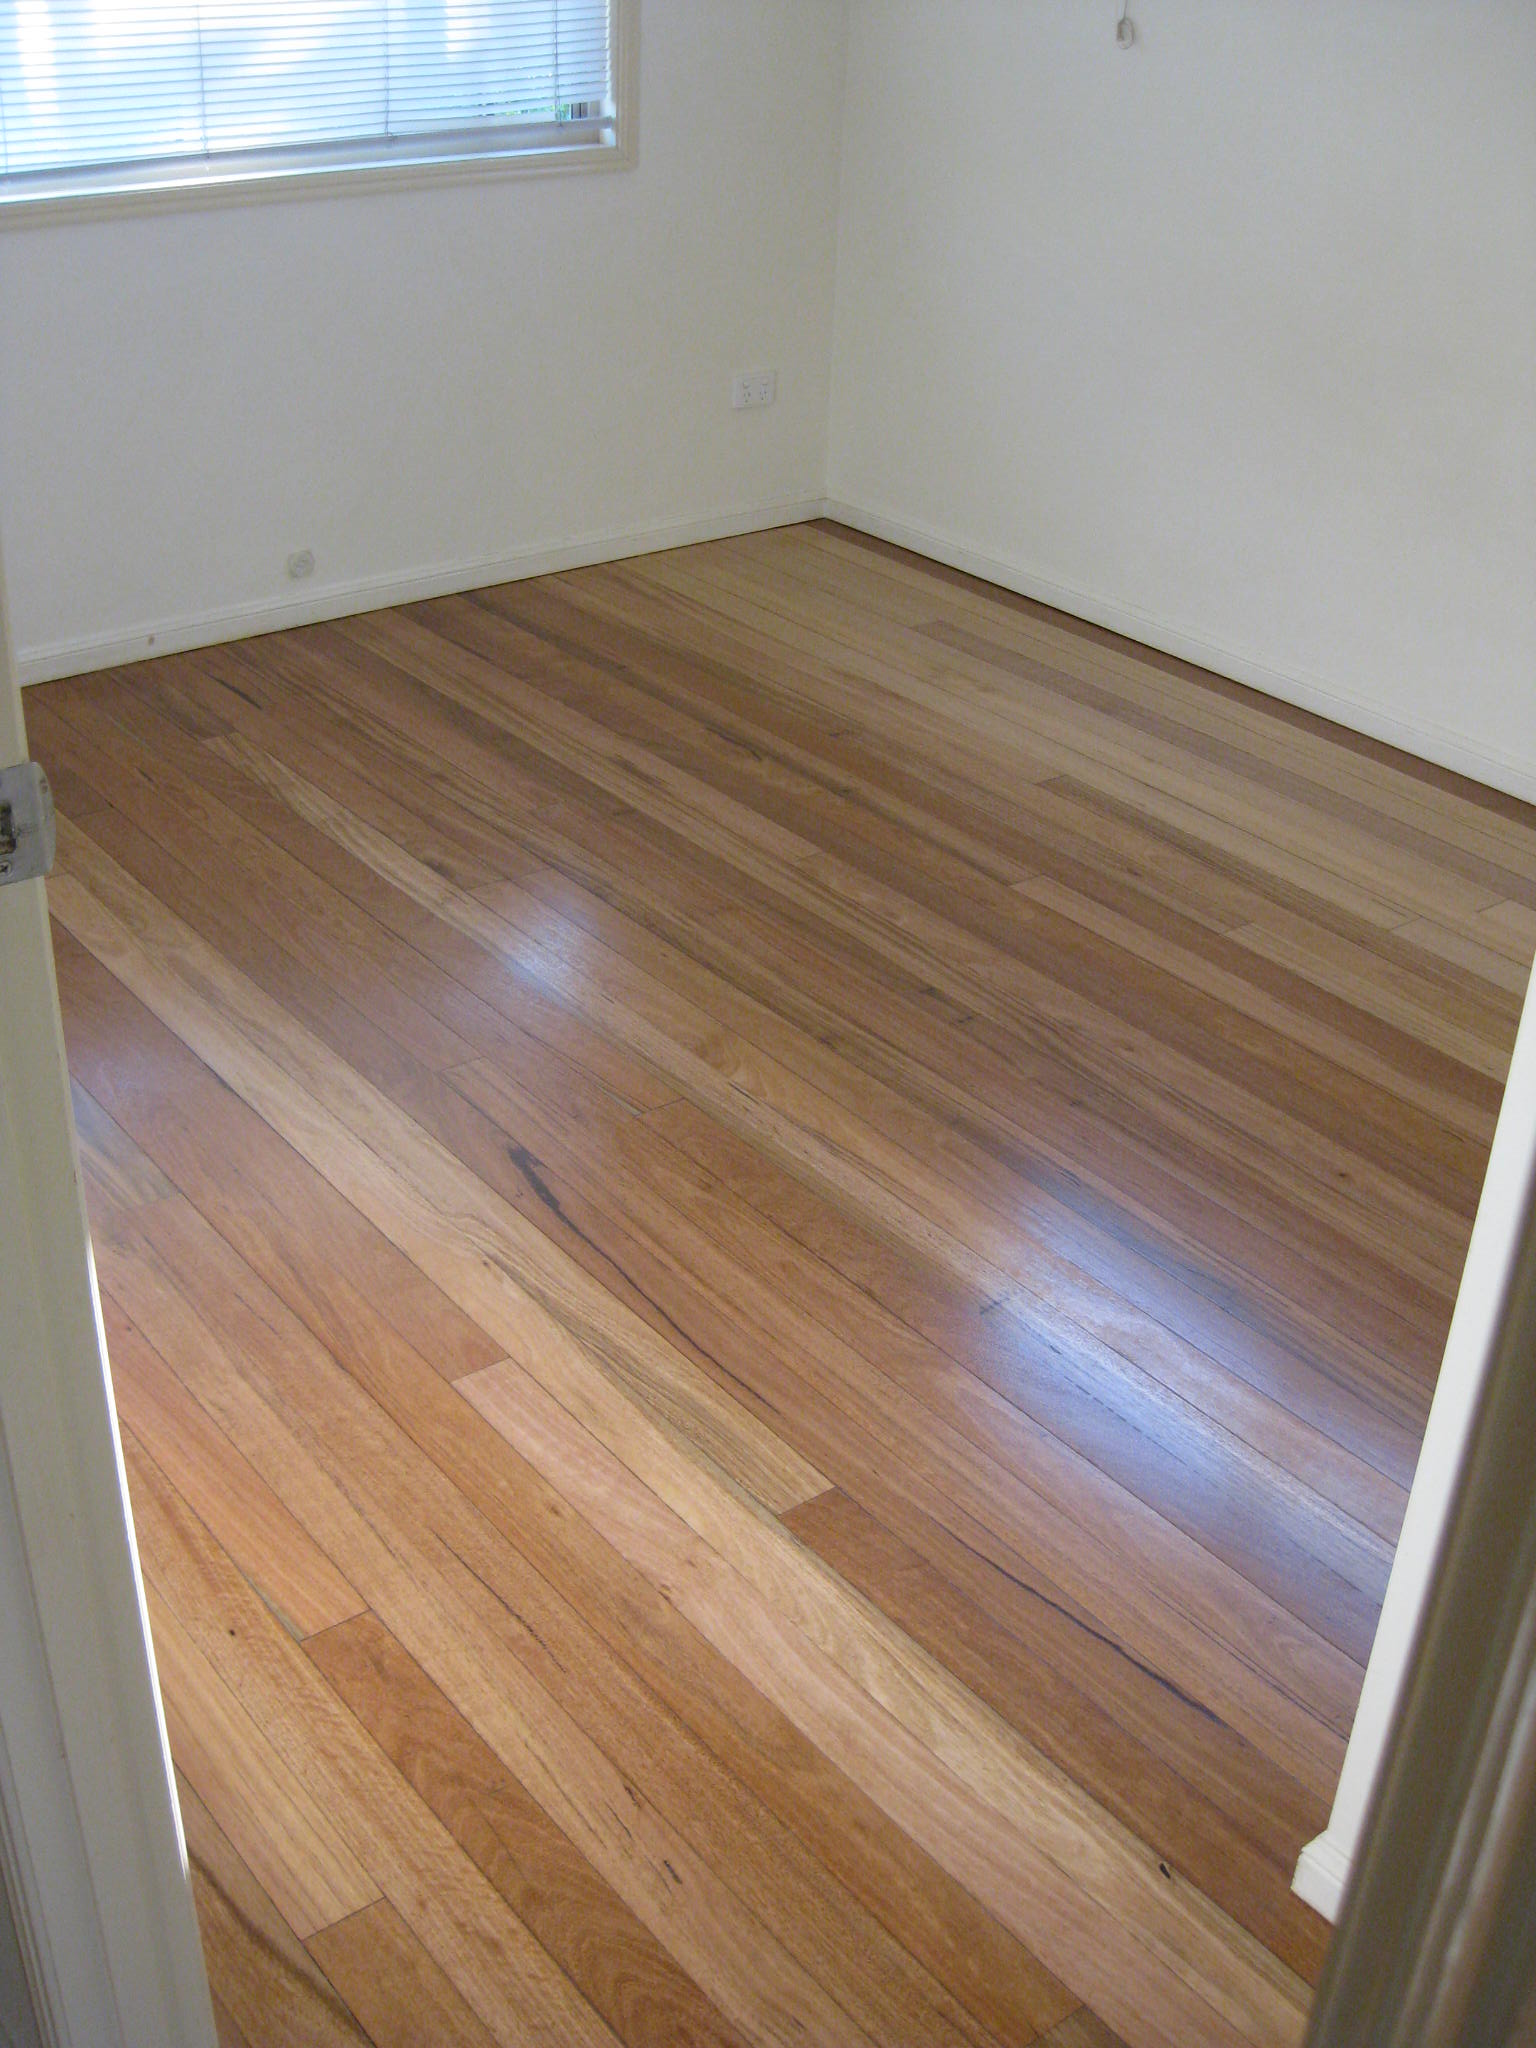
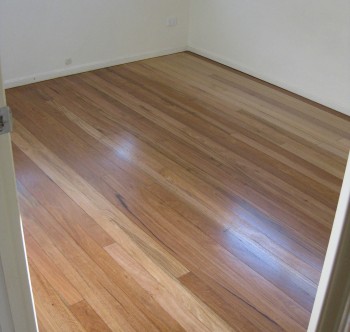
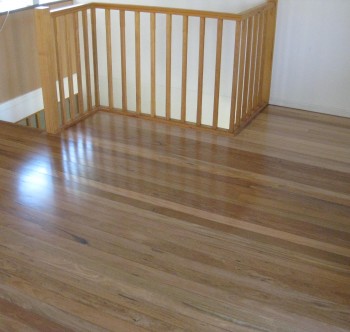
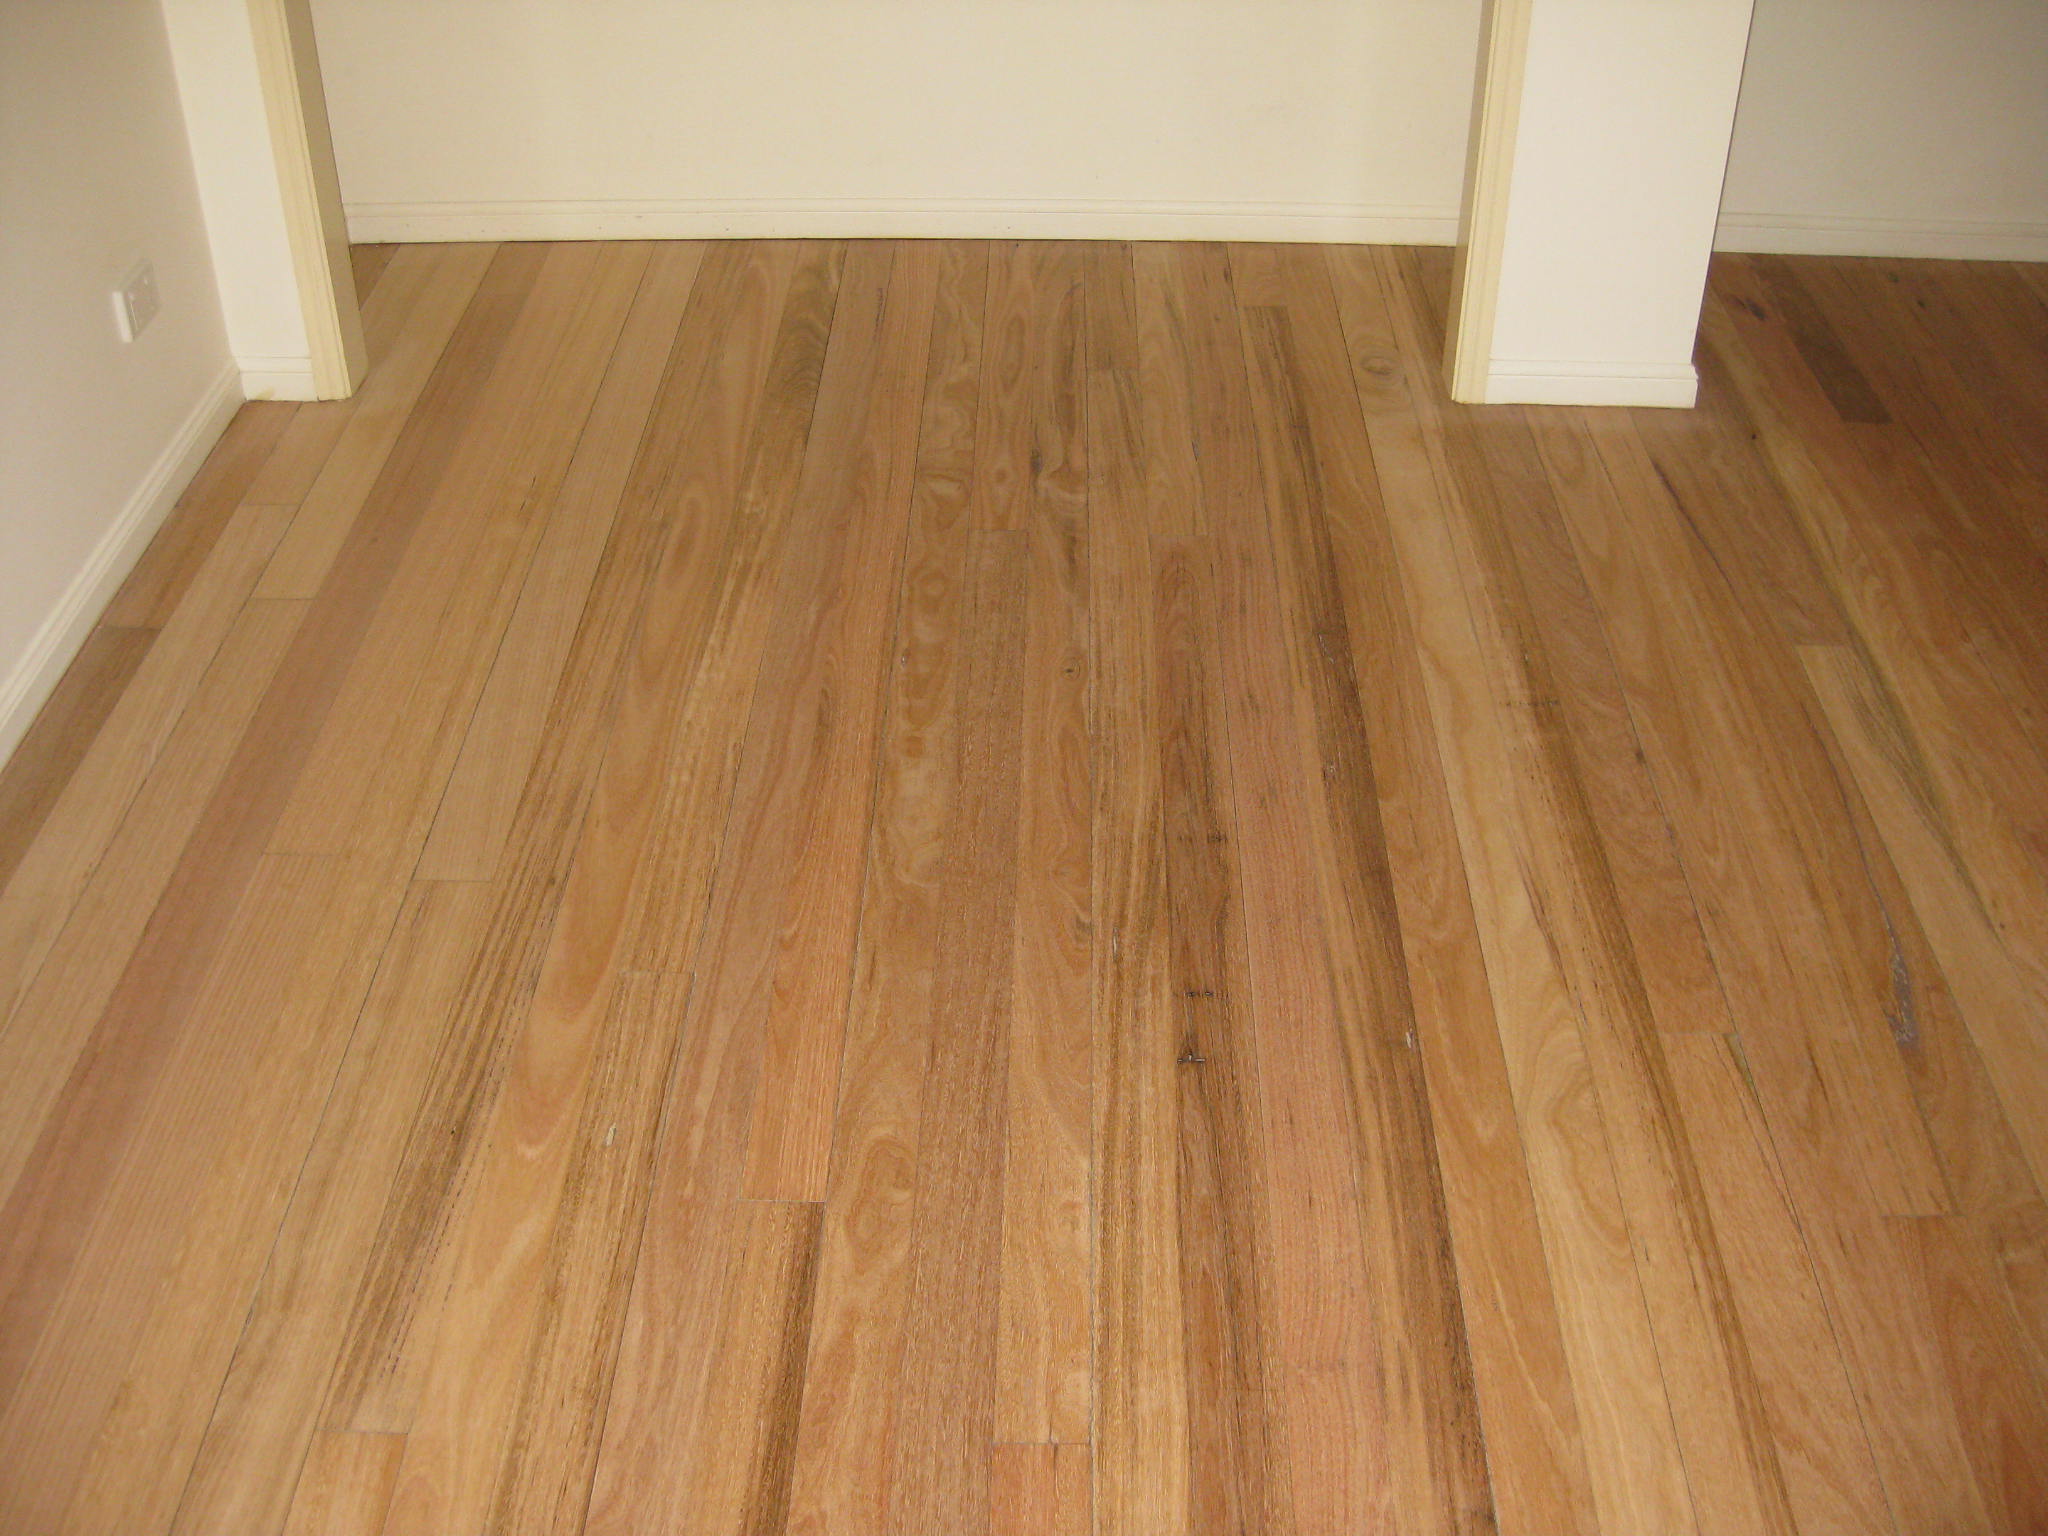
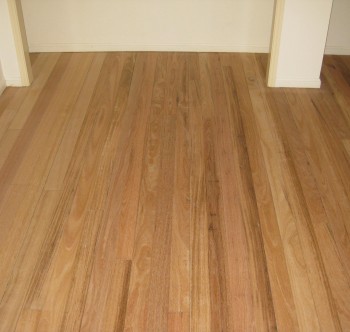
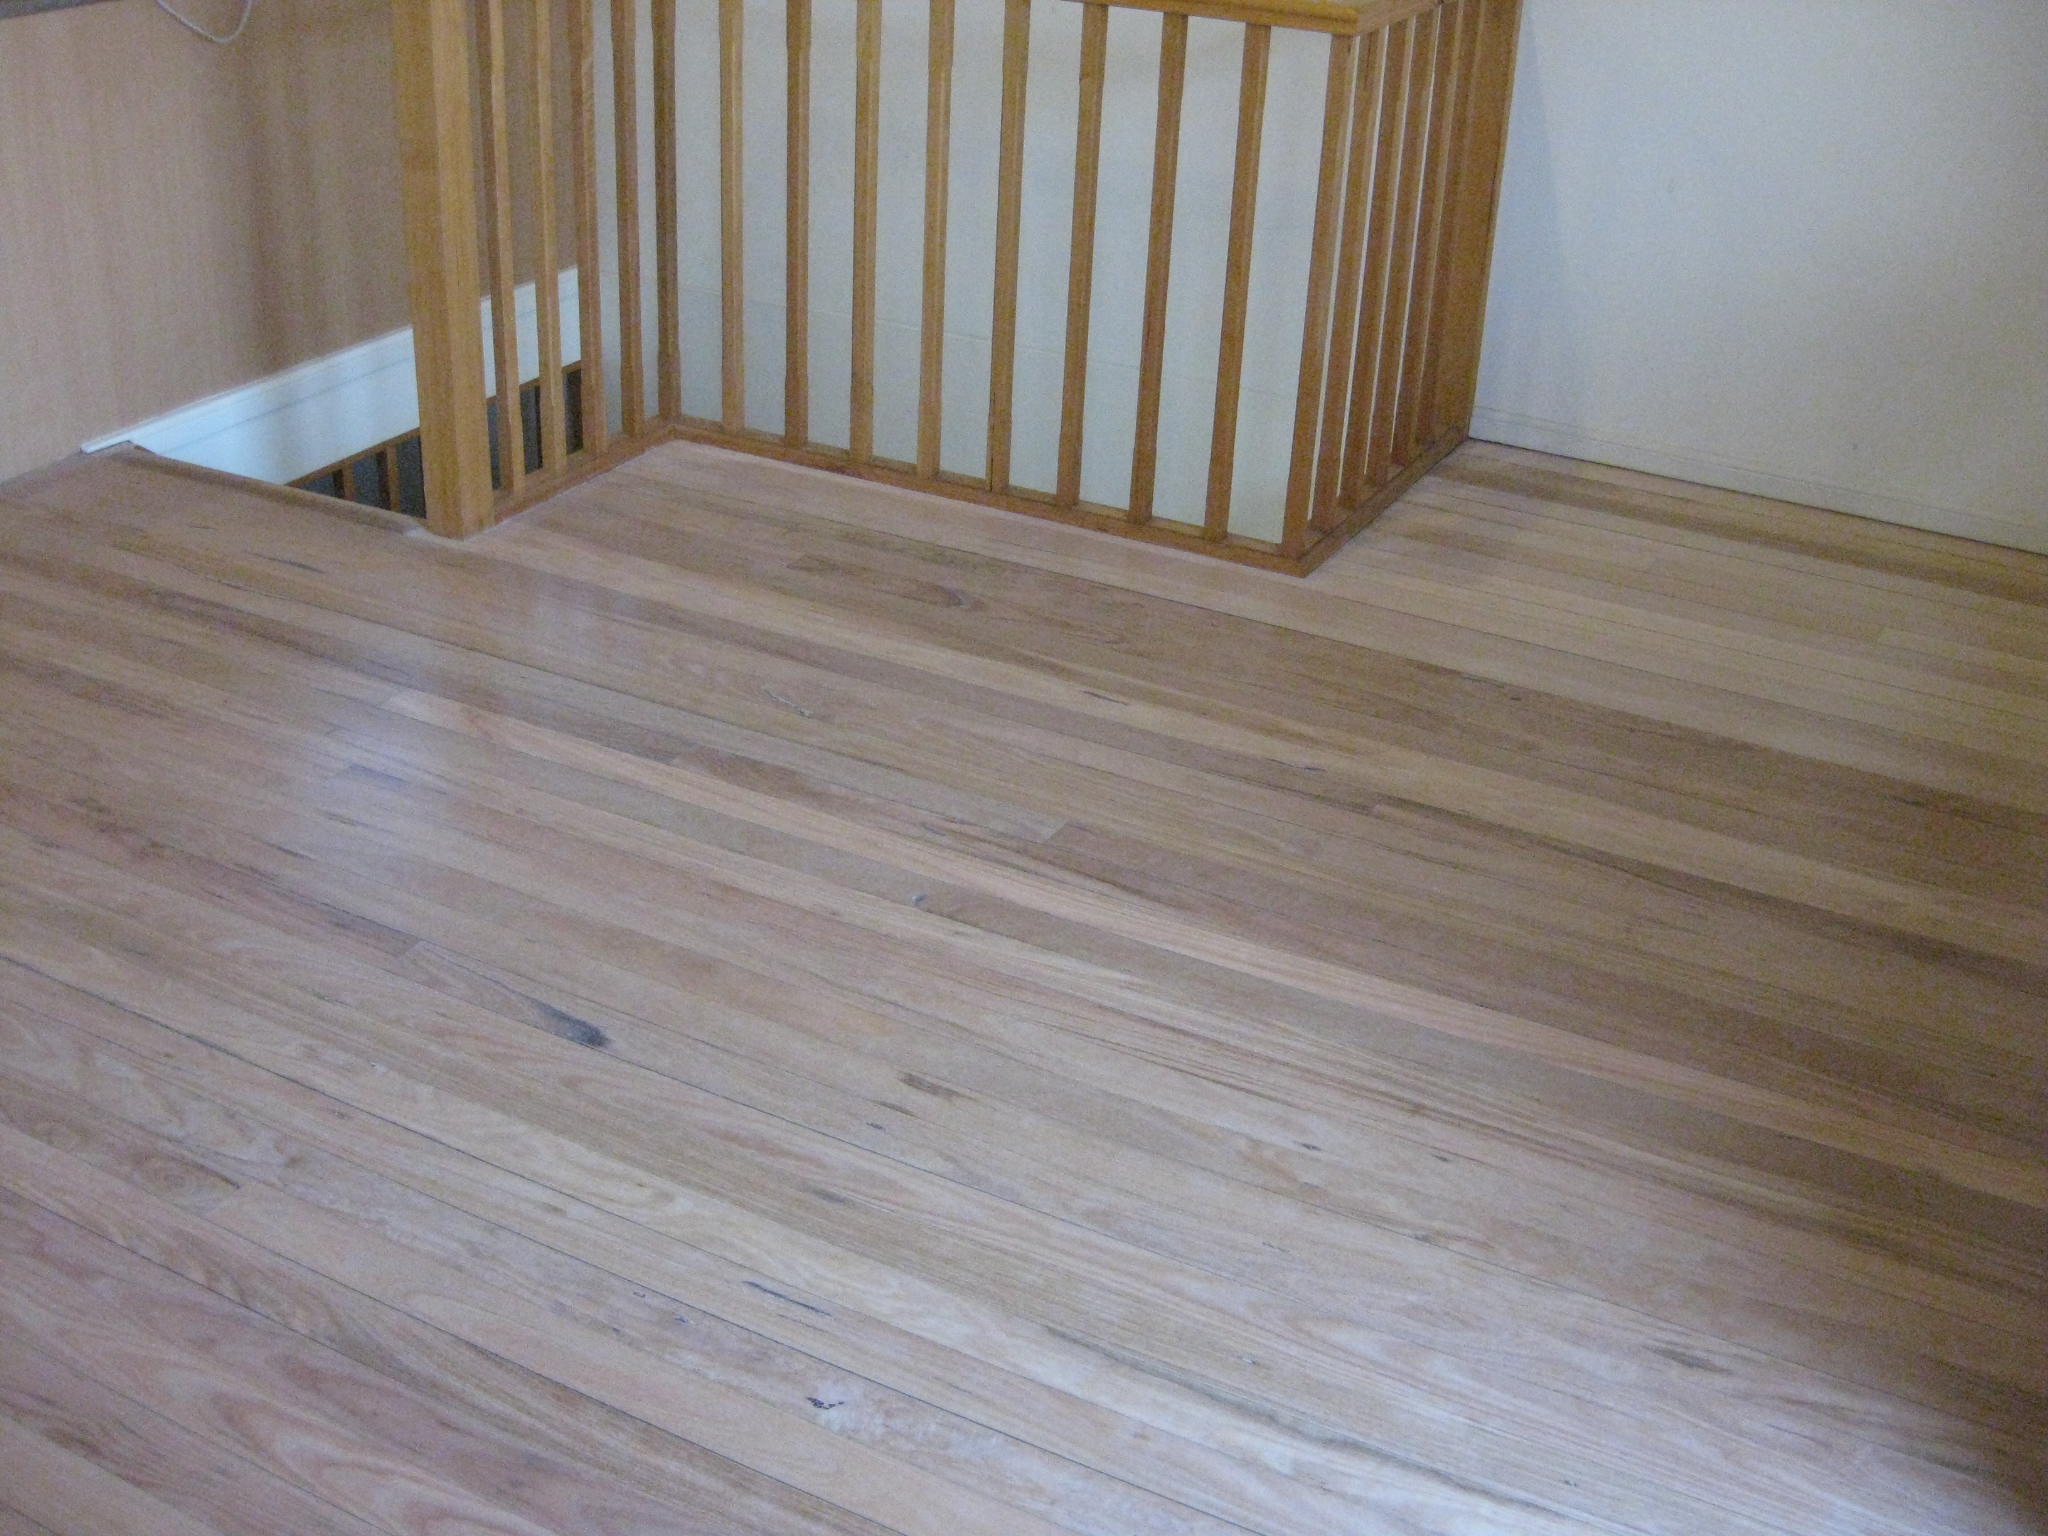
During the final sanding process we build up heat beneath therotary, using the Polivac rotary sander, this polishes existing tannins through the grain of the timber, highlighting the true beauty of grains, colour and texture of the timber.
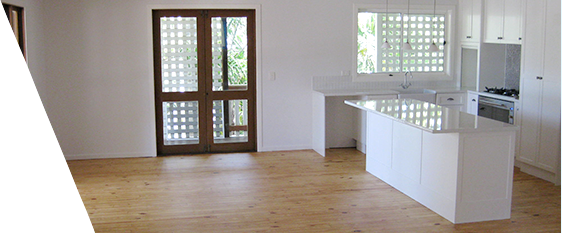
To give your floor its lustre we apply the selected finish in Matte, Satin or Gloss – 3 coats for domestic use and 4 coats for commercial premises.
step 1
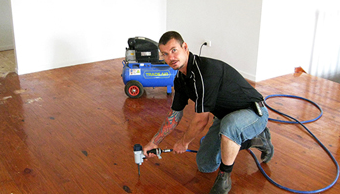
Nails are pneumatically punched to a depth of 3mm to remove existing filler and reset the boards to the joists

step 2
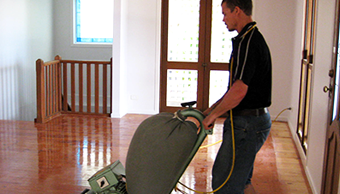
We use the German Lagler range of floor sanding machinery together with a Polivac Rotary sander utilising our own custom made cutting heads, which in our experience is the most effective at dust collection. We start with a bigger grit of around 40-60 grit and progress through a final cut of 220 grit.
step 3

Nail holes being filled with colour matched putty.
step 4
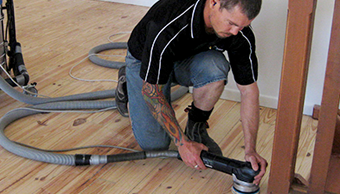
The Edger and Rotex orbital are coupled into a commercial dust extraction unit to further ensure an absolutely dust free service.
step 5
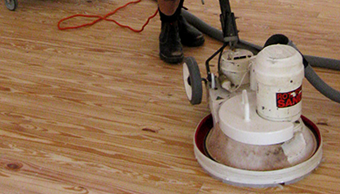
During the final sanding process we build up heat beneath therotary, using the Polivac rotary sander, this polishes existing tannins through the grain of the timber, highlighting the true beauty of grains, colour and texture of the timber.
step 6
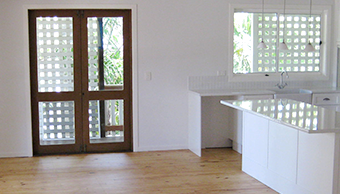
To give your floor its lustre we apply the selected finish in Matte, Satin or Gloss – 3 coats for domestic use and 4 coats for commercial premises.
We will then provide you with advice on how to look after your beautiful new timber floor or perhaps you may wish to take advantage of our maintenance service, designed to suit your requirements, to ensure that your timber floor will always look its best.

Gave the main hall floor a new lease of life after filling a number of faults, sanding and then applying coats of his special mixtures. The Hall Committee are very happy with the resulting surface which appears hard and shows up the grain of the timber. The hall users have commented on the new surface […]
I wish to thank you for the beautiful timber floor restoration you achieved for us, I would happy to recommend Ingrain Technique to anyone who requires a truly professional service and only the best result .
The quality of the finished product left nothing to be desired. We have been most impressed with the outcome and would have no hesitation in recommending Ingrain Technique and their product to other prospective clients .
Just a quick note to thank you for a great job. The builder sent me some photos and said what a great job it is. Looks really good to me. Many thanks for great job done on time .
Many thanks, I have inspected the floor and was very impressed. I cant wait to get the rest of the house done!! The finish is better than I would have ever expected.

Suncoast Web Solutions | Suncoast Web Hosting Copyright © 2017 Ingrain Technique. All rights reserved
Suncoast Web Solutions | Suncoast Web Hosting Copyright © 2017 Ingrain Technique. All rights reserved